
How to Install CodeIgniter 4: Step-by-Step Guide (2025)
In 2025, PHP remains a relevant and widely used programming language. CodeIgniter continues to be one of the most popular web development frameworks. In this tutorial, we will guide you through the installation and setup of a CodeIgniter 4 application step by step.
This is the simplest and most beginner-friendly explanation for installing and running CodeIgniter. I’ll guide you from scratch to a fully set-up environment, based on real experience. CodeIgniter is lightweight, fast, and perfect for small to mid-size projects. It also opens up excellent job opportunities for beginners.
So, let’s begin this exciting journey with CodeIgniter 4 installation!
Table of Contents
- CodeIgniter 4 Installation & Environment Setup
- Method 1: Install CodeIgniter 4 Manually
- Method 2: Install CodeIgniter 4 via Composer
CodeIgniter 4 Installation & Environment Setup
There are two ways to install CodeIgniter 4: manually or via Composer. The Composer method is recommended for keeping the framework updated.
Method 1: Install CodeIgniter 4 Manually
Go to codeigniter.com and download the latest version.
Extract it into your web server directory (e.g., htdocs).
Start the server:
php spark serveThen open:
http://localhost:8080Method 2: Install CodeIgniter 4 via Composer
Step 1: Download Composer Installer
- Visit getcomposer.org
- Click on “Getting Started” or go directly to getcomposer.org/download
- Download the
Composer-Setup.exefile under Windows Installer.
Step 2: Install Composer (Windows Installer)
- Run the downloaded installer
- Follow the setup instructions
Step 3: Installation Process
Install Mode
- Select “Install for all users” and click Next.
Developer Mode (Optional)
- You can leave it unchecked. Click Next.
PHP Path Setup
- Set PHP executable path:
C:\xampp\php\php.exe - Click Next
Proxy Settings
- Leave as default. Click Next.
Ready to Install
- Click Install
Step 4: Wait for Installation
Wait until Composer installs completely. Then click Finish.
Step 5: Verify Composer Installation
composer --versionIf installed correctly, you will see:
Composer version 2.8.8 2025-04-04 16:56:46
PHP version 8.0.30 (C:\xampp\php\php.exe)
Run This Composer Command to Install CodeIgniter 4
- Open terminal and navigate to your web server directory:
cd C:\xampp\htdocs- Run this command:
composer create-project codeigniter4/appstarter my_ci4_project- Navigate to the project:
cd my_ci4_project- Run the local server:
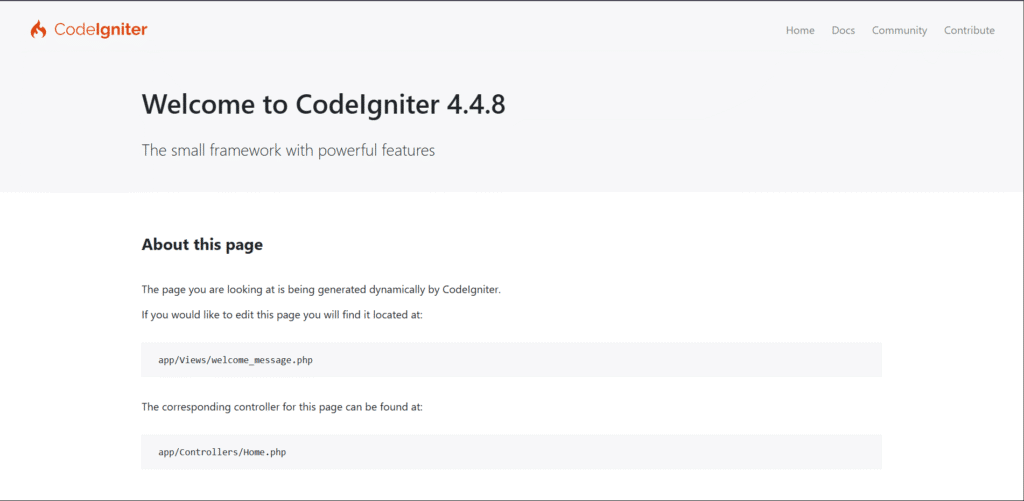
php spark serve- Visit http://localhost:8080 in your browser

Congratulations! You’ve successfully installed CodeIgniter 4.
FAQ
What is CodeIgniter 4?
It’s a lightweight PHP framework for building web applications quickly with minimal setup and configuration.
What PHP version is required?
PHP 7.4 or higher. PHP 8.0+ is recommended.
What does php spark serve do?
It runs the built-in development server so you can test your app locally at http://localhost:8080.
Where should I put the project using XAMPP?
Place it in C:\xampp\htdocs\ (Windows) or /Applications/XAMPP/htdocs/ (macOS).
What if Composer says PHP executable not found?
Ensure the PHP path is correct during installation or add it manually to the system environment variables.
Community Feedback